How to Make a Lung Model in 6 Easy Steps
How does air flow into your lungs? What happens when a person has trouble breathing? These are common questions about the human body. Thankfully, kids can make a simple DIY model to learn how lungs work. With a DIY lung model, kids can see lung anatomy in action.
Although the lung model is a classic craft for preschools and elementary schools, it’s easy to make at home with materials you already have.
Get ready to see why the lungs are important for breathing in oxygen and breathing out carbon dioxide!
Parts of the respiratory system in the DIY lung model
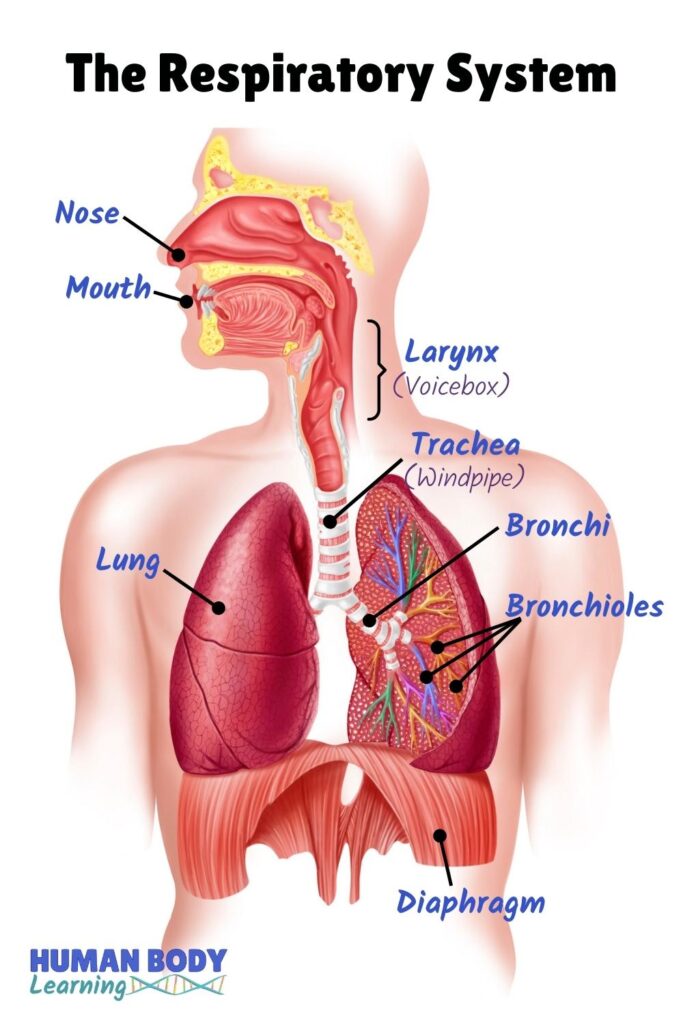
Did you know your breathing team hangs out in your face, neck, and chest? The main members are these body parts:
- Nose
- Mouth
- Larynx (voicebox)
- Trachea (windpipe)
- Bronchi
- Bronchioles
- Alveoli
- Lungs
First, air enters the body through the nose and mouth.
Then, it flows down your throat through your larynx (voice box), trachea (windpipe), and bronchi.
Finally, air makes its way through tree-branch-like tunnels — the bronchioles — and the alveoli (air sacs) in your lungs!
How to make a lung model with kids
After looking at the picture of the respiratory system, it’s time to bring amazing lung facts to life!
When kids make a DIY lung model, the science of breathing will make a lot more sense.
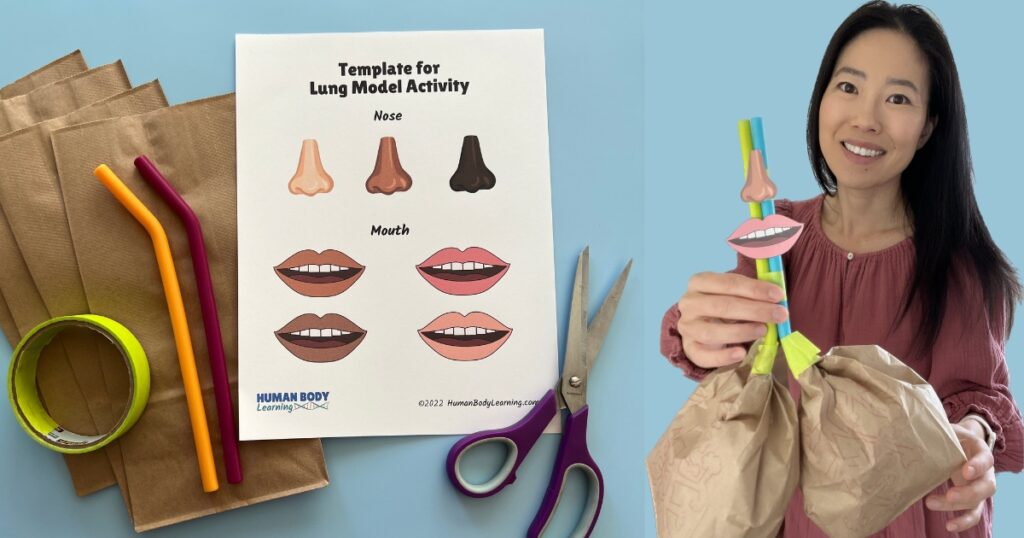
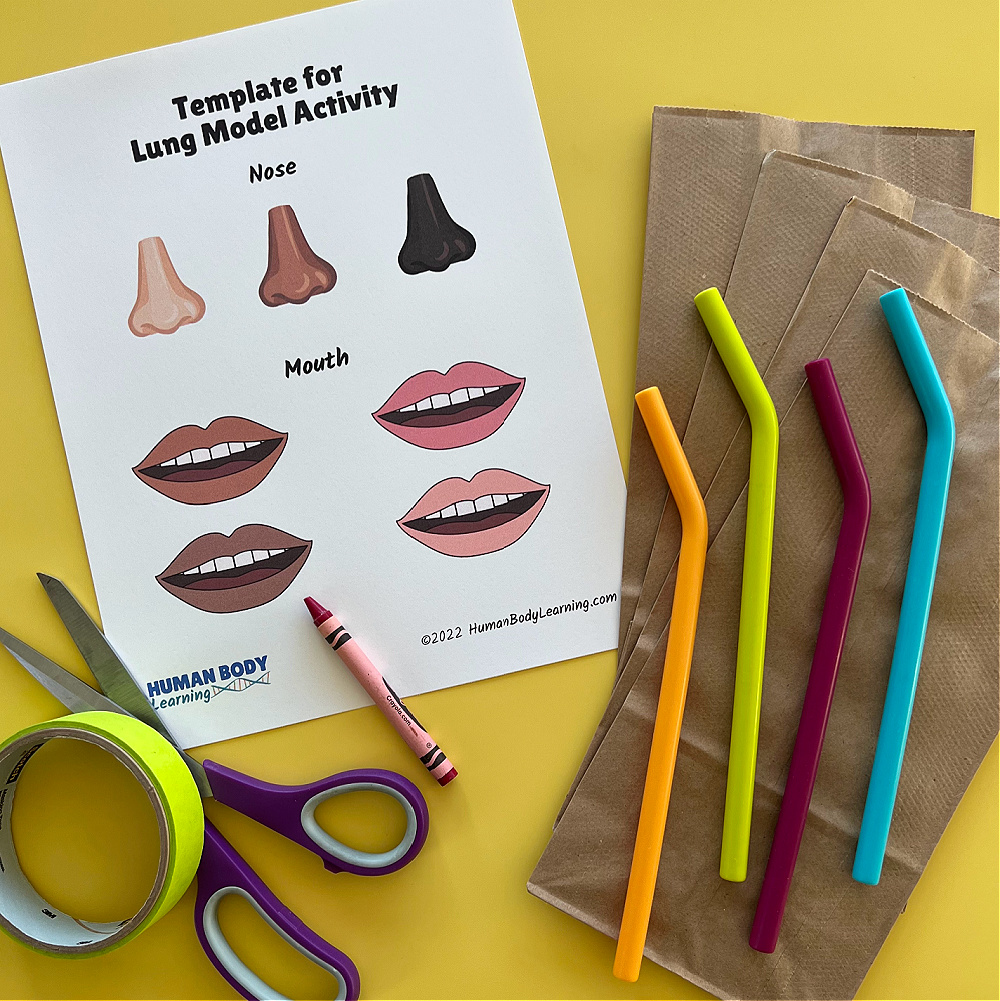
Supplies
Human Body Learning is reader-supported. Some links are affiliate links. When you buy something through an affiliate link, Human Body Learning may earn a small commission that supports this website at no additional cost to you. Please see the disclosure policy for details.
Tip: Instead of getting brand-new supplies, see what things you can reuse and recycle from your home.
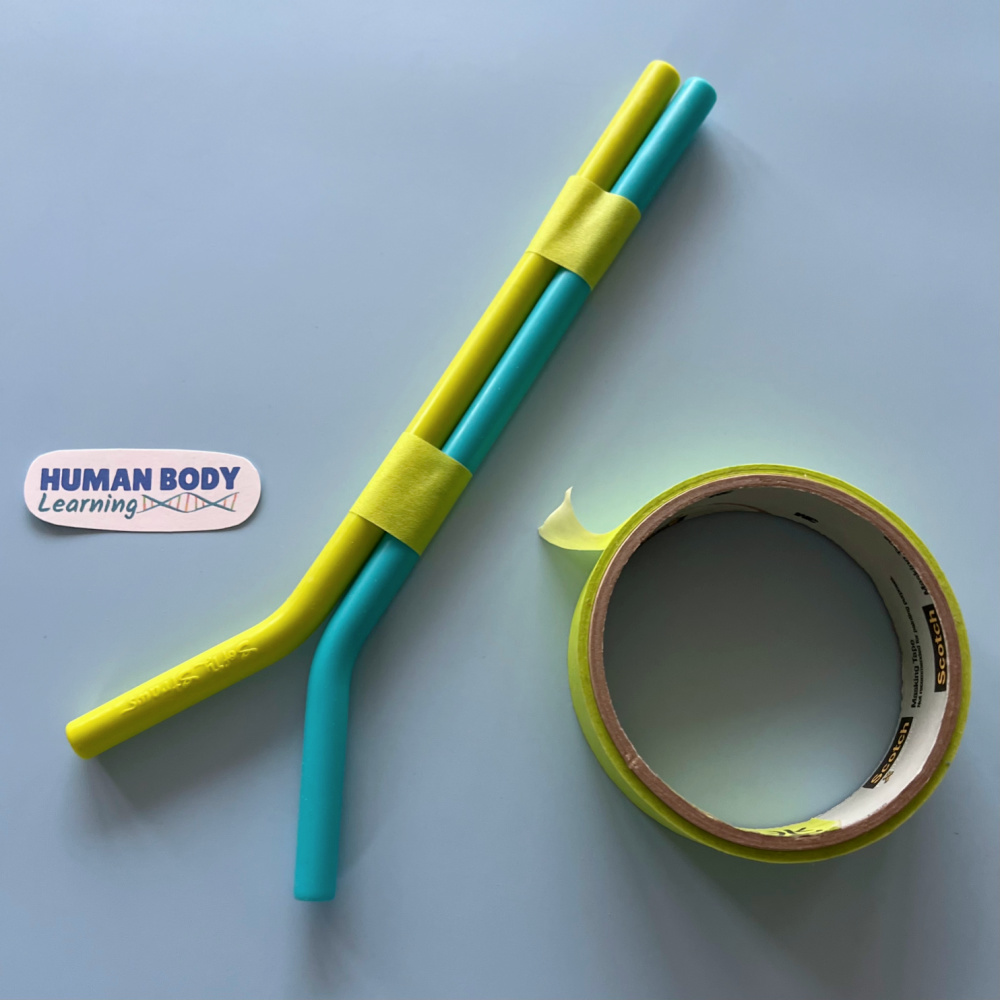
- 4 silicone straws
- 4 small brown paper bags
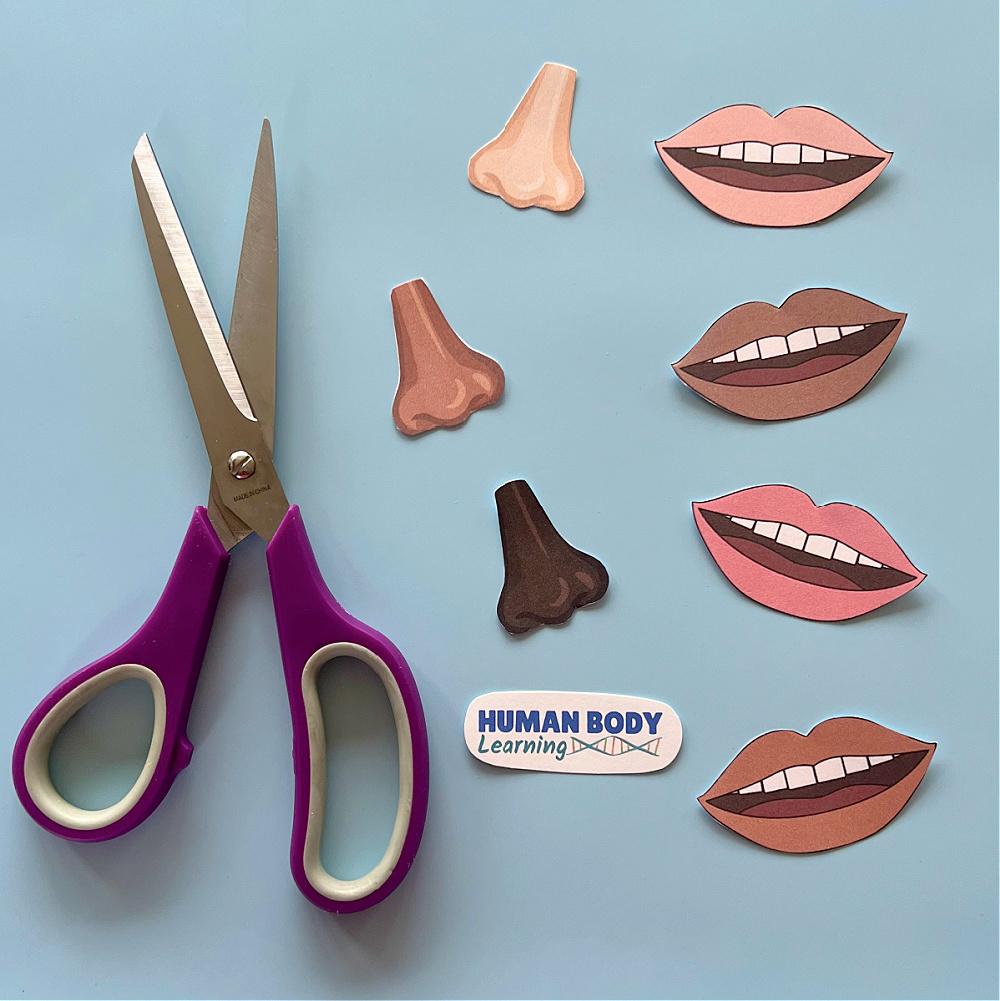
- Scissors
- Masking tape
- Marker or crayon
- Nose and mouth template: Sign up for Human Body Learning updates in the form below to instantly receive the printable!
After you hit subscribe, a copy of the lung model template will be sent to your email. Then, you can download the template onto your computer and print it out.
Instructions for making a healthy lung model
Kids can make a DIY lung model in just six steps!
Step 1.
Print the template and cut out one nose and mouth.
(Cut out more if you want to make more lung models!)
Step 2.
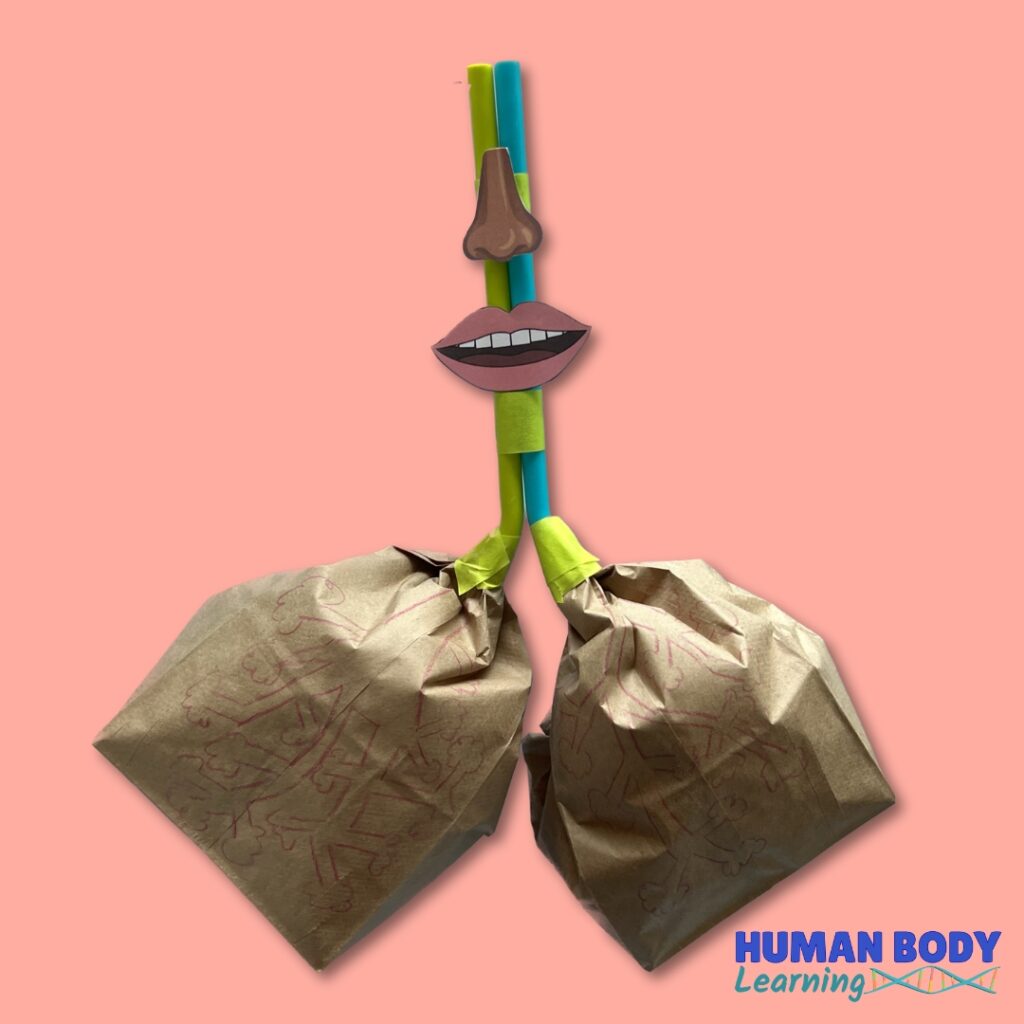
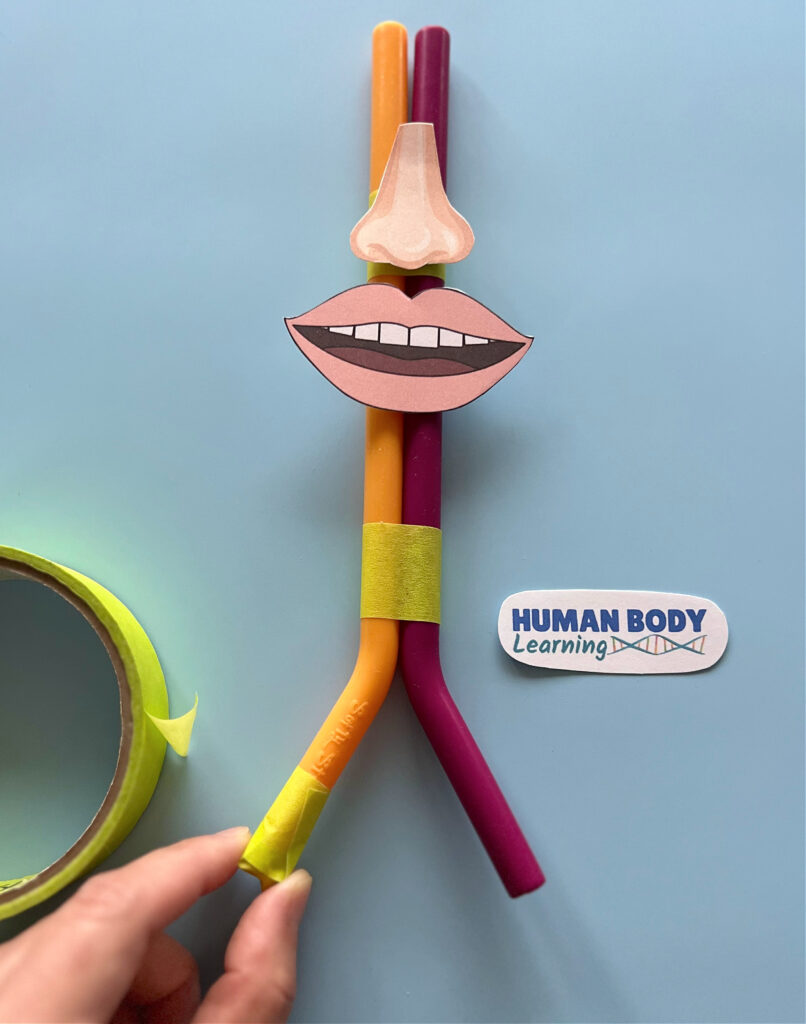
Put the straws together to make an upside-down “Y” shape.
Tape the long part of the straws together.
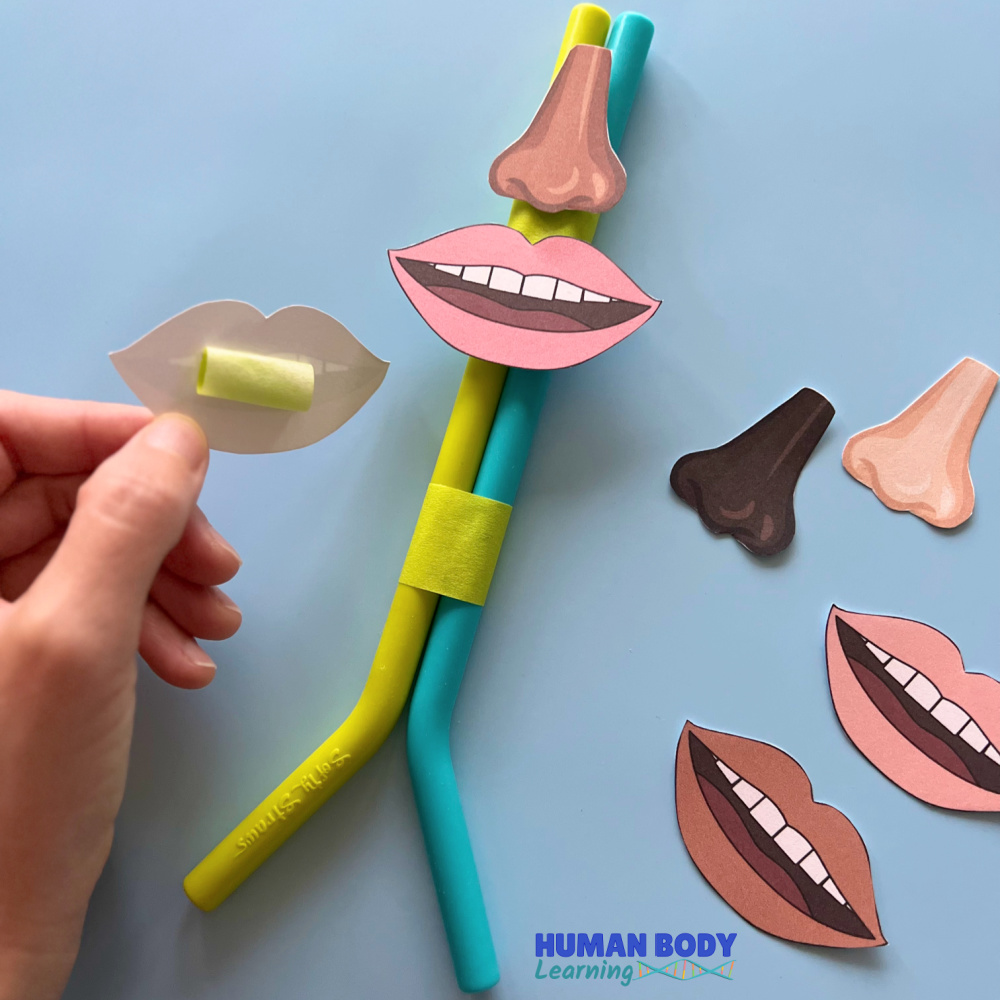
Step 3.
Tape the nose and mouth to the straws.
This is where air first enters the human body.
Doctors call this area the “upper airway” or the “upper respiratory tract.”
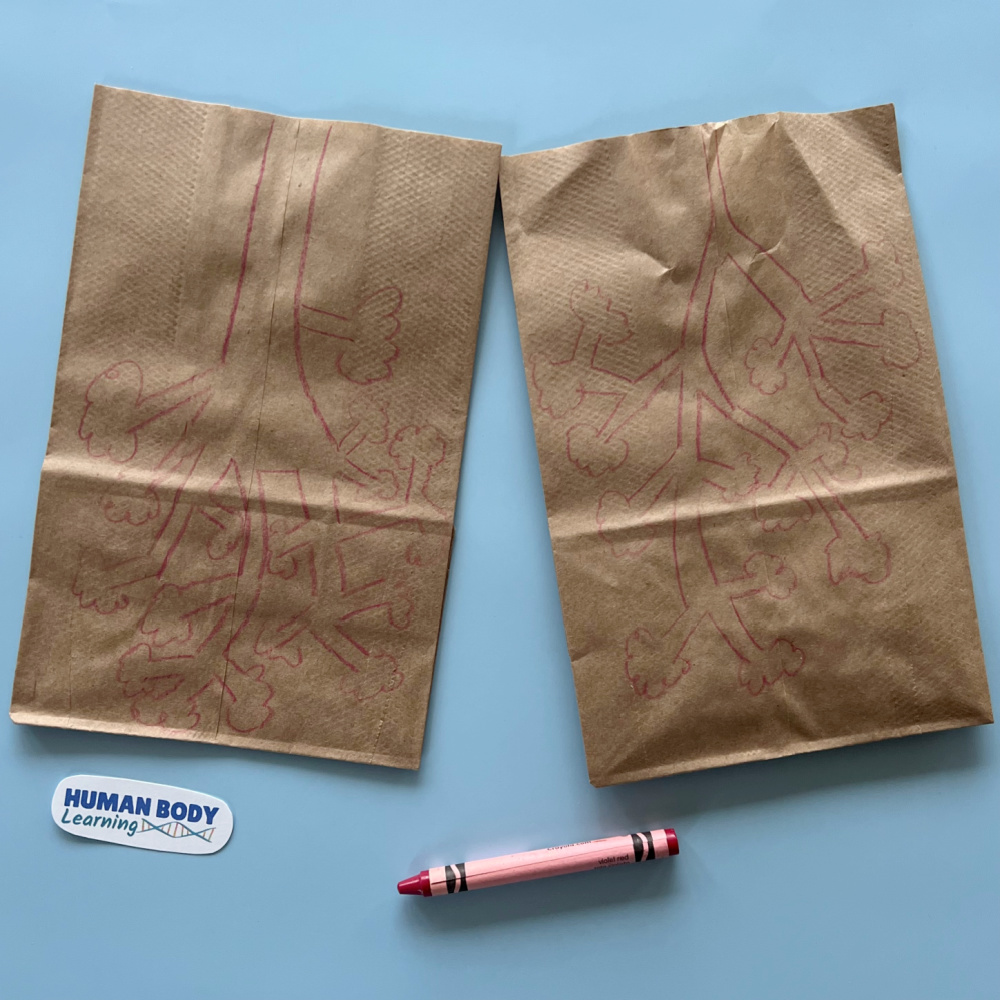
Step 4.
Draw bronchioles and alveoli with a crayon or marker on the brown paper bags “lungs.”
(Tip: If you have long bags, cut them shorter. “Smaller” lungs will be easier for kids to blow into.)
Your lungs have lots of little bronchioles and alveoli. Bronchioles are the smallest airways in the respiratory system. Alveoli are the small bags of air at the end of each bronchiole.
Doctors call this area the “lower airways” or the “lower respiratory tract.”
Step 5.
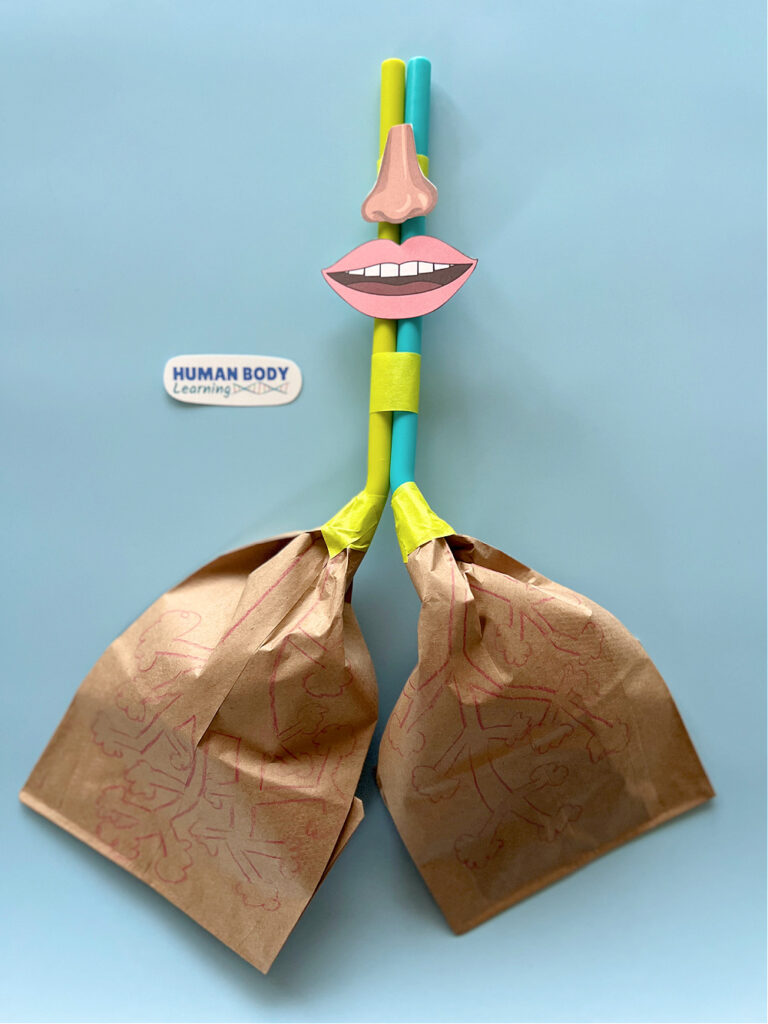
Tape a brown paper bag around each straw end. The paper bags are the lungs of the DIY lung model.
Make sure there are no gaps for air to leak out!
Step 6.
Experiment!
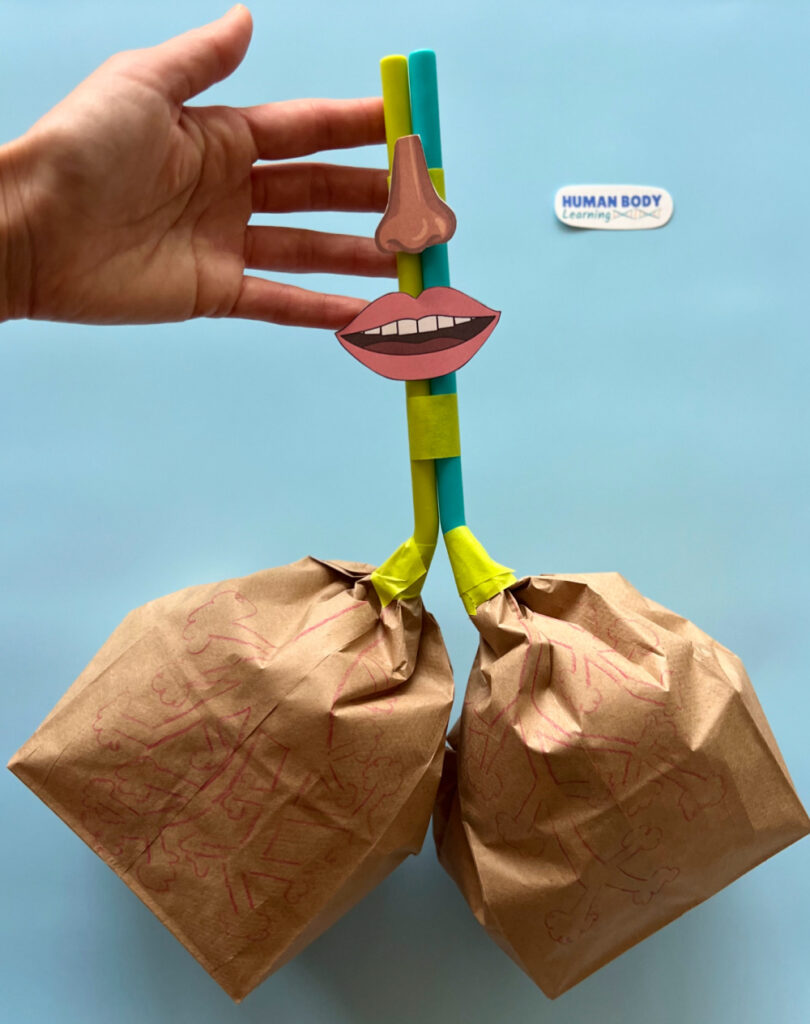
Blow slowly into the straws. What do you see? Are you able to blow air into the paper bag lungs?
Notice how both lungs fill up with air. Because the straw “airways” are open, the lungs can breathe in fresh air.
Now try squeezing the air out of the paper bag lungs. What do you notice? Did the paper bag lungs get smaller? Did you feel the air rush out of the open end of the straws?
What happens if air can’t get into the lungs?
This DIY lung model can show you where airflow sometimes gets blocked.
How to make a blocked windpipe (trachea)
With your fingers, squeeze the straws under the mouth in the “trachea” part of the lung model.
Now, try blowing air through the straws.
What do you notice? Are you able to blow air into the lungs?
How do you think someone would feel if their trachea was blocked?
How to make an unhealthy lung model
Repeat steps 1 through 4 described above.
Then, cover the end of a straw with tape to block the hole.
Return to step 5 and tape a brown paper bag around each straw end. Make sure there are no gaps for air to leak out.
When you get to step 6, what do you notice? Are you able to blow air into both lungs or only one lung?
When the straw “airways” are blocked, the lungs cannot breathe fresh air.
In real life, when airways are blocked with snot and swelling, a person would have trouble breathing.
Video tutorial: how to make a lung model
Pediatrician Dr. Betty Choi explains how to make a lung model and how air gets into the lungs.
Transcript:
“How do lungs work? And what happens when airways get blocked?
This classic DIY lung model shows how air goes through the nose or mouth, down the windpipe (trachea) and bronchi, and into the small airways (bronchioles) in the lungs.
If you get a stuffy nose, you can breathe through your mouth as backup. It might feel uncomfortable, but air can still get into your lungs.
If a child has croup, this top part of the windpipe near the voicebox gets swollen and filled with mucus.
The good news is that it usually doesn’t get fully blocked, so air can still make its way into the lungs.
Sometimes, other infections can plug up the small airways with mucus and swelling. This can block airflow.
Now, this lung needs help filling up with air.”
What happens if the DIY lung model has a hole?
Cut a small hole in the brown paper bag of your lung model. See what happens when you try to blow air in and suck air out.
Sometimes, the lung can get a hole when the chest gets hit or poked with a lot of force. When a person has a hole in a lung, doctors call this a “pneumothorax” because air from the lungs can leak out into the chest. “Pneumo” means “air,” and “thorax” means” chest.
This can be very painful! Because the lungs cannot inhale and exhale properly, someone with a hole in the lung would have trouble breathing and getting oxygen.
Other ways to make a lung model with kids
- What if you don’t have paper bags? Instead of paper bag lungs, use small plastic sandwich bags for this science project. Try to reuse and upcycle plastic bags to minimize waste!
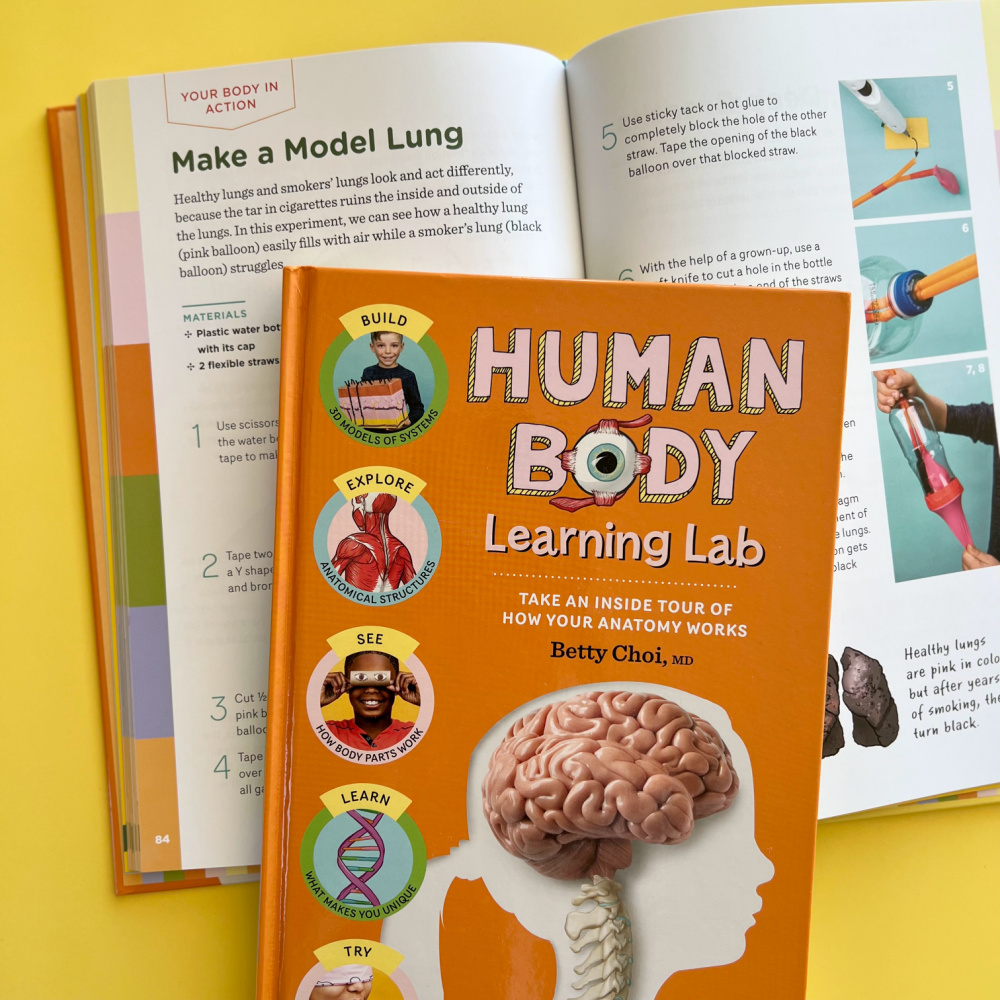
- Check out Human Body Learning Lab, pages 84 to 85, for another cool way to make a lung model with recycled materials. The lung model activity from the book shows kids how the diaphragm muscle works to help you breathe.
Learn more about the amazing human lungs!


Published on September 7, 2022. Updated on October 13, 2025 by Betty Choi, MD
Published on September 7, 2022. Updated on October 13, 2025 by Betty Choi, MD

Betty Choi, MD
Dr. Betty Choi is a Harvard-trained pediatrician who makes learning fun and doable. She created the kids’ anatomy book Human Body Learning Lab, which Science Magazine recommends as a “notable standout in the genre.”